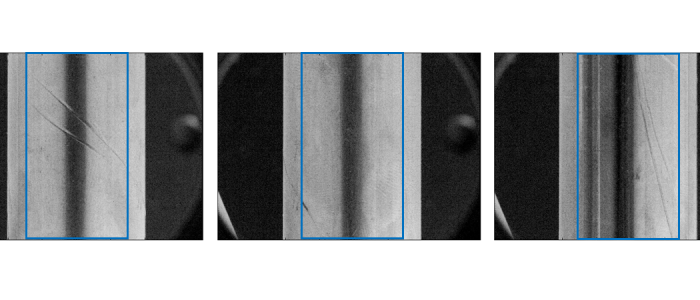
Optical measurement and quality control
Machine vision or robot guidance are common applications which can be performed by standard supplier with prepared solution.
But what if you need specific measurement or specific optical control? What about transparent materials, databases creating, large surfaces measuring, deformation or complex program formation?
Here are some examples of specific applications:
Applied in all sectors:
- Packaging, printing and marking control
- Control reading of the information on the production line, stored in the database
- Measurement of surface and shape of workpieces and pipes
- Optical control of possible impurities in the textile fiber or cobweb
- Burrs and rests’ control after laser cutting, cutting on water
- Control of welds (optical measurement, X-ray measurement)
- Real time control of the milled metal sheet’s shape during shaping
- Control of the overall shape of plastic moldings, tensions with opaque as well as transparent materials
- Surface and pipes’ defects measurement in utilities sector (oil pipeline, gas pipeline, etc.)
- Optical measurement of the melt level
- Applications for measurement and control in medical laboratories
- Optical devices for measurement of the increase of timber (forestry)
Specific for automotive and aerospace:
- Measurement of tire deflection
- Measurement of surface and shape with high precision
- Measurement of glass deflection by gravity forming
- Measurement of lenses and reflectors
- Measurement of lights’ luminosity, shape of lights, comparison with the norm
- Measurement of float glass shape (flatness), selection
Specific for transport sector:
- Measurement of railway wheels or tracks’ shape (wear)
- Measurement of tram or railway wheels’ shape (wear)
- Measurement of trolley wiring wear
- Optical measurement of flatness / road shape
Find out more about camera systems here.
Do not hesitate to contact us for more information about optical measurement and quality control.


Comments are closed.